Git - The STASH Command
You're working on a new feature and you want to jump back to the last clean commit without losing your draft? Then stash is the Git command you're looking for!
Note: Not a reader? Watch the video on top of the page and learn how to use
git stash
Some (Really Quick) Preparations
Make sure to download and install Git on your machine and to create a new project with a single html file and the following example code:
<p>First commit</p>After that run:
git init
git add .
and
git commit -m "starting code"
This will initialize the Git repository and add the first commit. git log should show this:
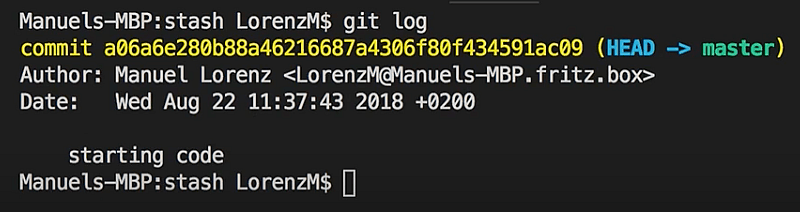
Let's assume that this is our main "clean" commit and we now want to play around a bit in the code and add a new feature like:
<p>Feature 1</p>Not very creative, but the idea is that we are now working on this feature, but suddenly we have to jump back to our actual "clean" commit. At the same time we don't want to lose the progress we made for our new feature - so what can we do?
We could add another "dirty" commit which includes our new code, checkout the older commit and then go back to the latest commit once we want to continue our work. That's not very convenient though and it might even mess up our project.
Turns out there is an alternative!
Adding Code to the STASH
The alternative is git stash. This allows us to save this "draft" code we created in a so called stash. Saving the code like this will not have any impact onto the actual commits we created so far, so let's see how this works.
After adding git stash, the newly created code disappears and we are back in our initial code, so
<p>First Commit</p>is everything we see now.
Ok, but what about:
<p>Feature 1</p>?
No worries, it's not lost, git stash apply brings it back easily - isn't
that great? We could now commit this change and add the new code to our actual
project or we could also continue our work and add another feature:
<p>Feature 2</p>git stash will create another stash for this project status. More about
that can be found with git stash list:

stash@{1}was created when we entered git stash the first time, stash@{0} was created with the second git stash.
Two important takeaways here:
- a): The latest stash is always on top of the stash list
- and b): each stash can be identified by an automatically added
index, starting at
0for the latest stash.
These numbers also allow us to select a specific stash that should be applied to our code. git stash apply 1
will apply the stash with the corresponding index, git stash apply will always
apply the latest stash (so the one with index 0). After applying the stash, we
can continue working on it. Identifying stashes only by its index can be
cumbersome though, therefore adding a description to it might not be the worst
idea.
Simply type:
git stash push -m "your description"to add the code to your stash, entering git stash list will then show the corresponding stash including your description, this could look something like this:

The latest stash on top comes with the "added awesome feature" description in our case, which makes it easier to identify this specific stash in contrast to the other stashes, which were created with git stash only.
Pop and Drop a Stash
Now that we finished our "draft" code it's time to add it to our actual project.
So let's first get rid of all stashes we don't need anymore. As we are able to apply a specific stash with the help of the index, we can of course also use it to delete or "drop" a stash.
Entering git stash drop 2 will for example delete the stash with the index 2.
You can do this for all stashes not required any more, the result could be something like this:

So which stash do we need in our project? That's up to you of course, entering git stash pop 1 will apply the "added awesome feature" stash to our code, 0 will do the same for "final feature".
Note: Important:
git stash popwill apply the code of the selected stash to our project and remove the stash from the stash list afterwards.
The code of our selected stash is applied, so let's create a new commit which includes this code now, so:
git add .
git commit -m "your description"
With that our new feature is part of our project code, so we actually don't need the remaining stash any more.
So let's get rid of it with git stash clear.
And that's it, now we used all commands we need to get started with git stash, awesome!